
Client firewall management
How to Use the Firewall Feature in VIRTARIX VPS Control Panel
At VIRTARIX, we understand the importance of securing your virtual private servers (VPSs). Our control panel, powered by Proxmox and enhanced by Modules Garden, includes a robust firewall feature to help you manage and protect your network traffic. Here’s a step-by-step guide on how to use this feature effectively.
Why Use the Firewall?
The firewall is a critical component for securing your VPS. It allows you to control incoming and outgoing traffic based on predefined security rules, protecting your server from unauthorized access and potential threats.
Configuring the Firewall
Accessing the Firewall Settings:
- Log in to your VIRTARIX control panel.
- Navigate to the VPS where you want to configure the firewall.
- Click on Firewall in the left-hand menu.
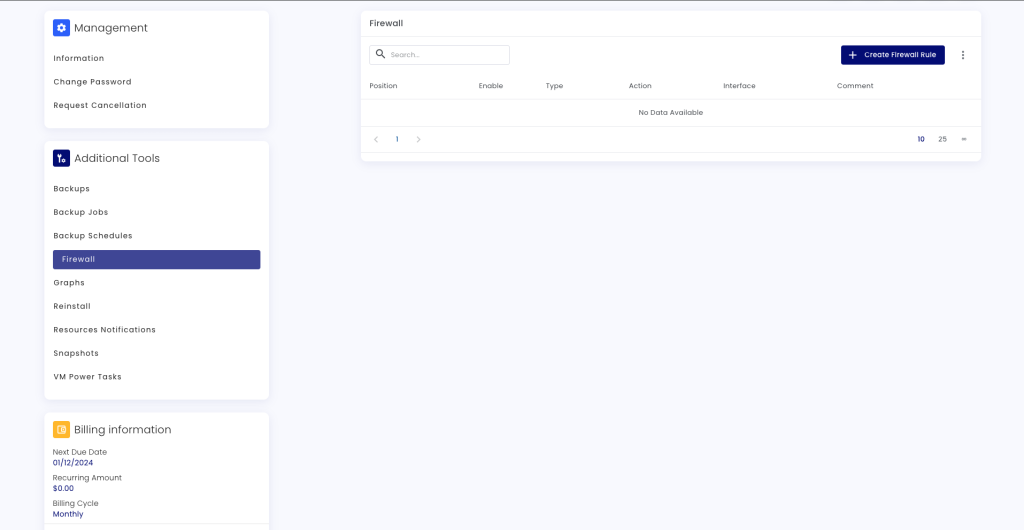
Adding Firewall Rules:
- Click on Add to create a new firewall rule.
- Define the rule parameters such as action (Accept, Drop, Reject), direction (In, Out), and protocol (TCP, UDP).
- Specify the source and destination IP addresses.
- Save the rule.
- you can move rules up and down to prioritize them as needed.
Default Settings:
- The firewall is enabled by default
- We apply a default rule to block port 25, which cannot be disabled.
Applying Rules to VMs and Containers:
- To apply firewall rules to specific virtual machines (VMs) or containers, navigate to the VM or container settings.
- Go to the Firewall tab and add the necessary rules.
- Ensure the firewall is enabled for the VM or container.
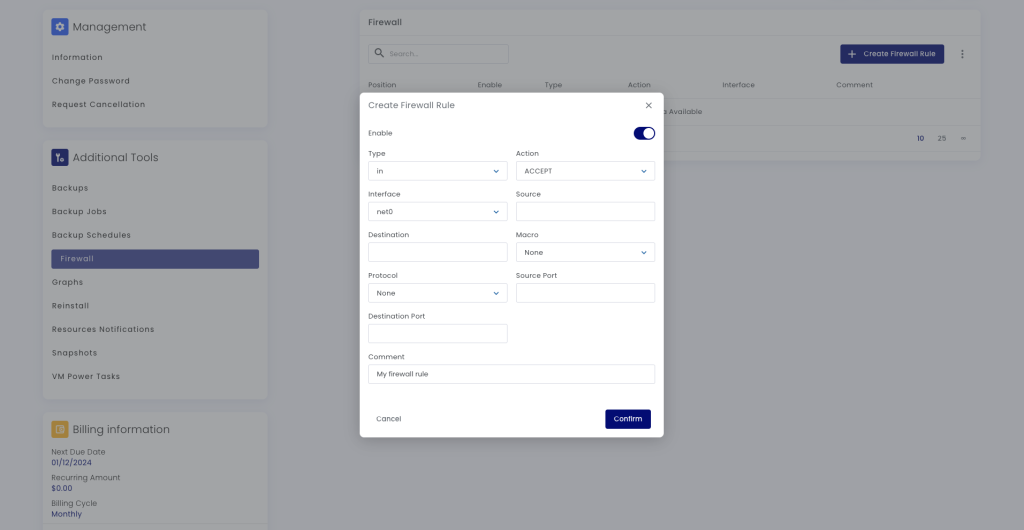
Firewall Rule Options
When creating or editing firewall rules, you have several options to fine-tune your security settings:
- Type (In, Out): Specify the direction of the traffic. “In” for incoming traffic and “Out” for outgoing traffic.
- Action (Accept, Drop, Reject): Define what action to take when the rule matches. “Accept” allows the traffic, “Drop” silently discards it, and “Reject” discards the traffic and sends an error response.
- Interface: Specify the network interface to which the rule applies. This can help in managing traffic on different network segments.
- Source: Define the source IP address from which the traffic originates.
- Destination: Specify the destination IP address to which the traffic is directed.
- Macro: Use predefined macros for common services and protocols to simplify rule creation.
- Protocol: Select the protocol (TCP, UDP, etc.) that the rule will apply to.
- Source Port: Define the source port number or range for the traffic.
- Destination Port: Specify the destination port number or range for the traffic.
Best Practices
- Start with a Default Deny Policy: Configure the firewall to block all traffic by default and then create rules to allow specific traffic as needed. Ensure the default deny rule is placed at the end of your rule set to allow specific rules to be processed first.
- Regularly Update Rules: Review and update your firewall rules regularly to adapt to changing security requirements.
- Monitor Traffic: Use logging and monitoring tools to keep an eye on network traffic and identify any suspicious activity.
Conclusion
Using the firewall feature in the VIRTARIX VPS control panel is essential for maintaining the security and integrity of your server.

