Deutsch

This guide provides a step-by-step process for installing Docker Engine on an AlmaLinux or CentOS VPS. Ensure you have SSH access and root-level privileges before starting. The commands follow Docker's current official CentOS repository method. Docker lists maintained CentOS Stream releases as supported; for AlmaLinux, confirm that your release is compatible with the CentOS repository method before using it on a production server.
Step 1: update the system
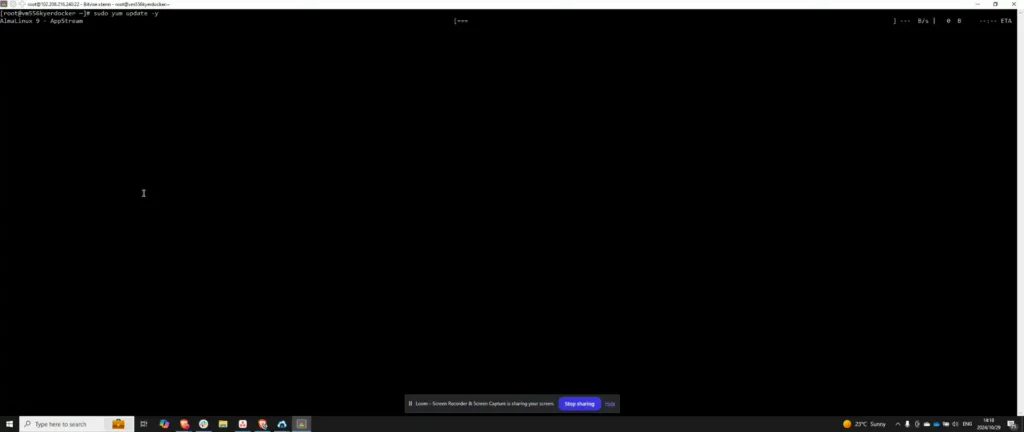
Begin by updating your system. Once you have accessed your VPS via SSH, run:
sudo dnf upgrade -y
Step 2: verify and install required packages
Install dnf-plugins-core, which supplies the dnf config-manager command used by Docker's current CentOS instructions:
sudo dnf -y install dnf-plugins-coreStep 3: add Docker repository
Add Docker's official CentOS RPM repository with the complete command from the Docker Engine documentation:
sudo dnf config-manager --add-repo https://download.docker.com/linux/centos/docker-ce.repo
Step 4: install and start Docker
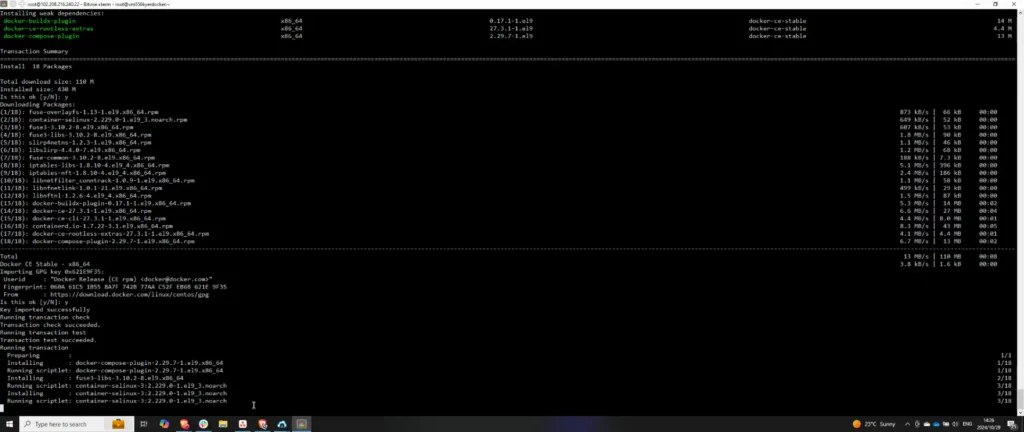
Install Docker Engine, the CLI, containerd, Buildx, and the Compose plugin:
sudo dnf install docker-ce docker-ce-cli containerd.io docker-buildx-plugin docker-compose-pluginIf DNF asks you to accept Docker's GPG key, compare the displayed fingerprint with the current fingerprint in the official Docker CentOS installation guide before accepting it. Then enable and start Docker and inspect the service state:
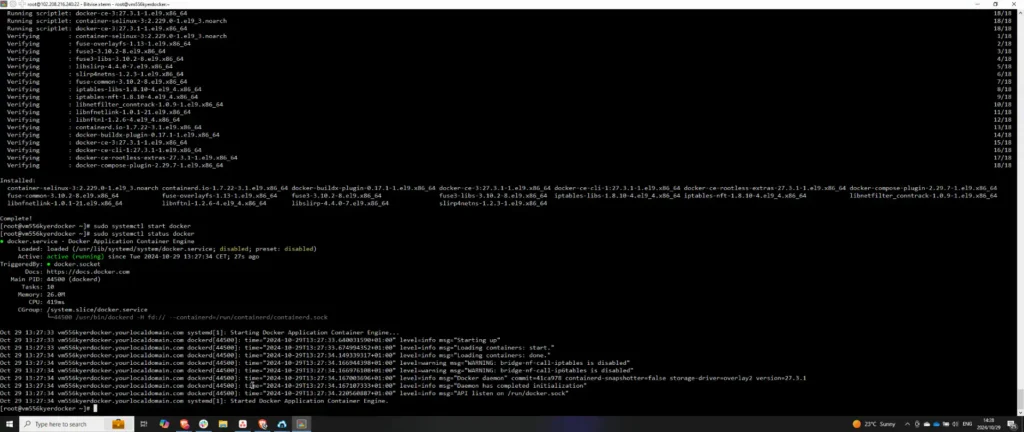
sudo systemctl enable --now docker
sudo systemctl status docker --no-pager
Step 5: test and verify Docker
Run the official test image once:
sudo docker run hello-worldDocker downloads the test image, starts a container, prints a confirmation message, and exits. A successful message confirms this installation test; it does not validate your future images, networks, volumes, firewall rules, or application configuration.